
I recently got a hold of two Wonderswans and decided I wanted to front light at least one of them. After some research I found this screen. The screen seems to be the proper dimension for front lighting the wonderswan, and it was on sale for $3! So I grabbed four of them (in retrospect I should have gotten like 20 of them).
They came yesterday and I tore the thing apart and started off on frontlighting it. This will serve as somewhat of a guide for doing this.
First we start with the donor screen.
-
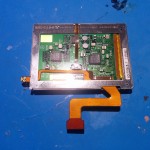
- The donor screen.

-

- Wedge a screw driver in the opening to pry the metal away from the clips

-

- Pull away and you’ll reveal the front light and diffuser right there.

Next it was figuring out the pinout to power the led bar for the front light. That basically just took two tries, I had a 50/50 shot anyway. If the picture isn’t clear, the outer two connections are positive and the inner two are the ground. I honestly thought it would be the other way around.

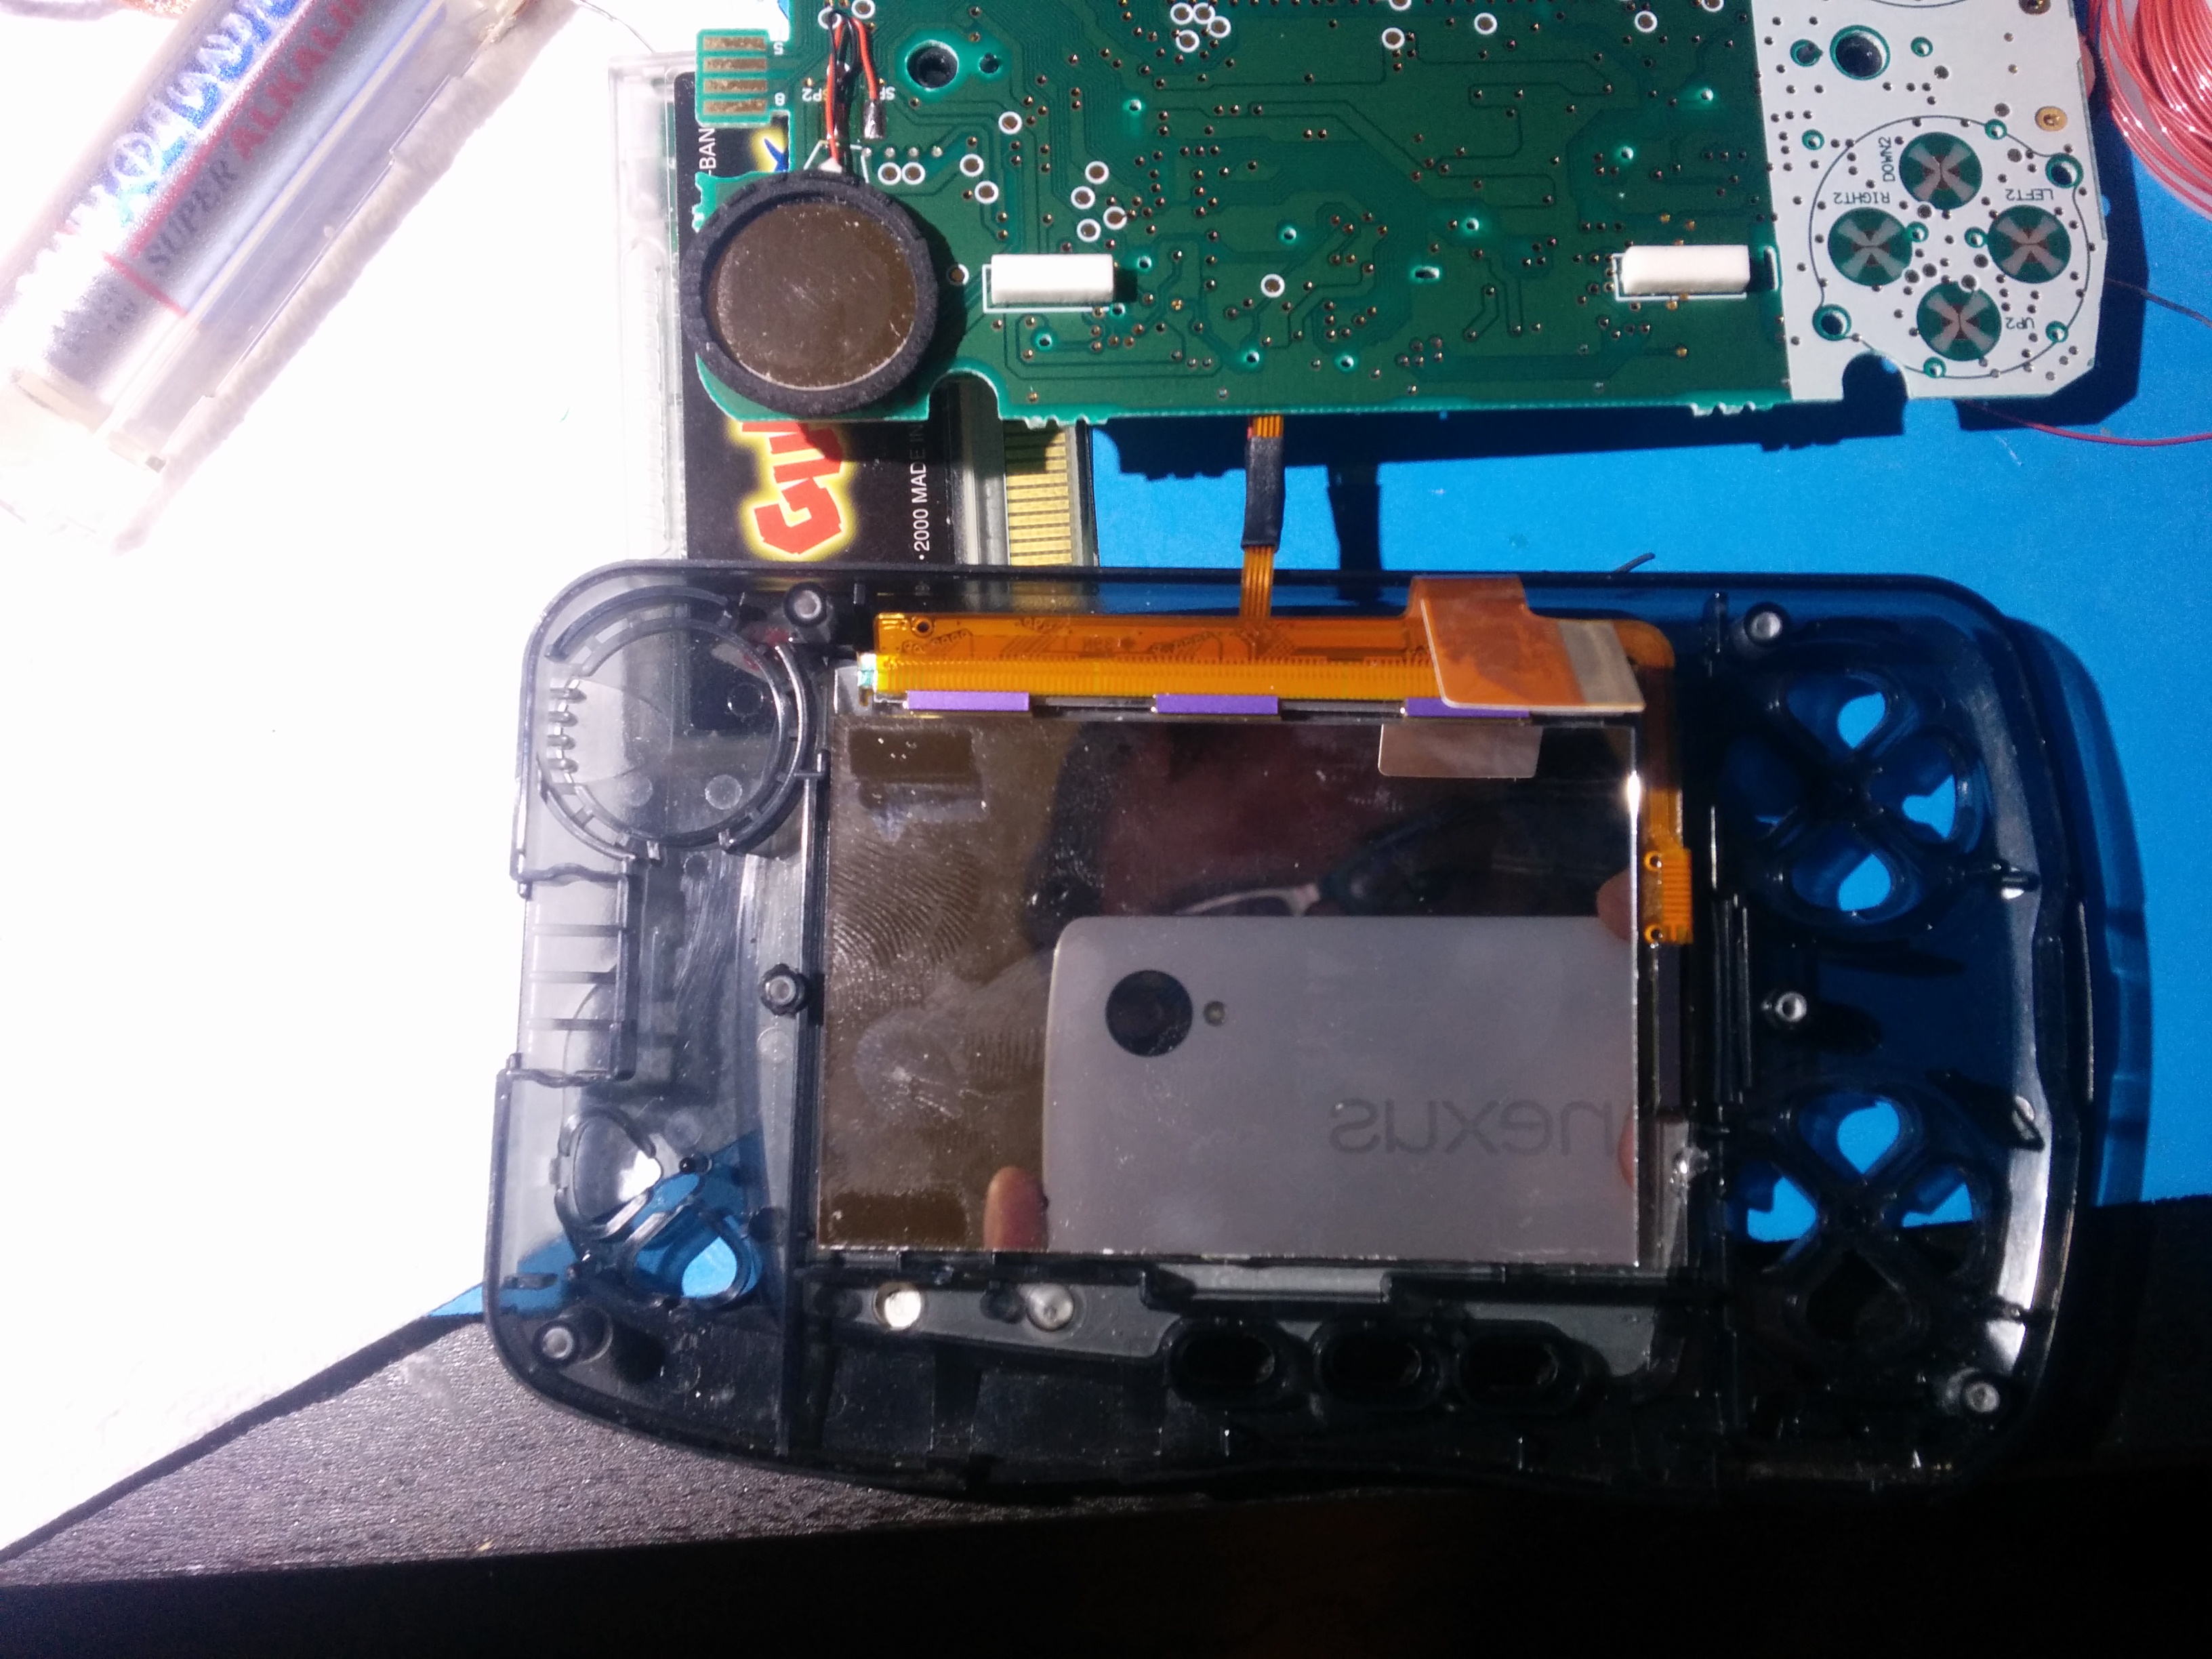
Simple enough, now to taking apart the Wonderswan. There are just six screws on the back (Torx 7, I think). Just remove them and lift the back off. I didn’t take any pictures of this part. It’s very straightforward. Just remove the back, then remove the screen ribbon cable and lift the motherboard away. Then slowly pry the screen out with a flathead screwdriver or something similar.
With the screen out, I initially laid the front light in with the light bar towards the top of the screen. DO NOT DO THIS. When I closed everything up…this happened

RIP
I killed the screen. One of the sectors(?) broke so the top third of the screen no longer works. So I had to get a screen from my second Wonderswan. Putting the bar at the top could work if you don’t want to do any cutting, and if you leave the screws a little loose, but I’d be worried about any extra pressure cracking the screen.
Seeing as the light bar puts too much pressure on the top of the screen, I decided to go a different route. I decided to put it in with the bar on the bottom, and dremel out room for the bar to be completely out of the way of the screen
-

- You can see what it looked like previously in this picture
-

- This is after the initial cuts

-

- Everything removed

This worked fairly well, and I glued the light bar into place, and started putting everything back together.


.Now the next step is hooking it all up.
VCC (3.3v) is pin 23 and 24 on the cart connector
GND is pin 1 and pin 48

Looks good to me.
Close it all up and play in the dark!

The banding in this picture isn’t present in person.
If interested in selling do reply me 🙂
postage to Malaysia
Hi, i’m very interested of this and want to try to do it by myself.
I ‘m looking for GBA SP LED screen but the results show me two types (32 pins and 40pins) of GBA LED screen.
I’m not sure which one is suited to my Wonderswan color ( counted by me the pins are only 24)
Since I didn’t use a GBA screen I can’t be of a TON of help, but I think either of those should work. You’re only taking the front light overlay out of the screen, so the pinout doesn’t matter. What matters is wiring to VCC and GND!
Can you please provide more information about how to connect the wiring to the cart connector? I got everything else to work but can’t get this figured out.
Sure thing. You’ll basically just need to solder to the pins specified. So GND goes to either pin 1 or 48 (just choose one) and VCC goes to 23 or 24 (again, just choose one!). If that isn’t clear let me know and I can see what I can help you out with 😀
Hey Anthony, I was wondering what kind of adhesive you used to hold the lightbar in place?
Sorry for taking so long to reply! I just used regular double sided tape, it seems to be doing just fine.
Just thought i’d let you know those screens are on sale again until 2/29, for $5!
http://www.ebay.com/itm/GBA-Nintendo-Game-Boy-Advance-Frontlit-Frontlight-Front-Light-SHIPS-FAST-/201487830516?hash=item2ee99c4df4:g:ErgAAOSwZ1lWditf
do you think something like this would work? same principle i’d assume, but i’m not super familiar with frontlight modding or electronics in general really. thanks!
Sorry for taking so long to reply D:
I don’t think the dimensions of the GBA front light will fit the wonderswan well. It’s a really wide display. I do know the GBA front light kit works really well for a Neo Geo Pocket.
How exactly did you manage to solder wires to the ribbon cable?? your pictures made it look pretty decently sized, but when I got the screen in person, oh man that cable is so small. I don’t know how the heck to solder wires to the pins without bridging, you must’ve used a magnifying glass or something surely?
Would you potentially be willing to create one of these and sell them? Or have me provide you all of the necessary things and pay you for the service? I tried to do the mod myself, but I always fuck it up, as soldering I’m not really good at… I could compensate you good for the work, I just want to have one without having to worry about effing another system up.
I’d honestly be worried about killing a system doing this since I already broke one when originally documenting the mod. If you’re still interested in this please email me using my contact form and we can talk about it!